
Your cart is currently empty!
Challah
The first loaf of bread I ever made was challah. I had to be … maybe 12 years old? I don’t remember the exact age but do remember where we were living (so that narrows down the time frame a bit). I also remember that beautiful loaf of bread. It was gorgeous and HUGE! I…
The first loaf of bread I ever made was challah. I had to be … maybe 12 years old? I don’t remember the exact age but do remember where we were living (so that narrows down the time frame a bit). I also remember that beautiful loaf of bread. It was gorgeous and HUGE! I was so proud! Well, until I cut into that dark golden crust to find raw dough (just about an inch of the dough had cooked … the rest was raw as can be). That was also the last time I made bread until I was an adult. I’ve made bread that resembled a chunk of concrete to bread that resembled a dried glob of glue but I was determined. It’s taken me many years of trial and error to figure out exactly how long to knead and how much flour/liquid to add to obtain the right consistency. I’m very happy with my bread making skills (I’ve worked hard for them 🙂 ).
So, while trying to figure out a way to pay back my neighbor for finishing off the front yard that we started whacking on Valentine’s Day, I decided on challah. I have been wanting to make it so long and this time (yes, this was the first time I had made it since that day too many years ago) it was beautiful (and edible)! I used a recipe I had written down and stuffed in my binder of recipes. I have no idea when I wrote this down or who it was who originally shared it (may have been a friend who lives in Israel) BUT I discovered (while doing my favorite activity … searching the internet) a woman who pretty much uses the same recipe on You Tube! The recipe she uses makes 4 huge loaves. The recipe I have makes 6 standard loaves (so, just cut the dough into 6 pieces instead of 4 and you are good, unless you have a large family or are making this to take somewhere).
So, here is the playlist of her videos, plus a couple more. The first video is an amazing demonstration of various ways to form/braid rolls and loaves. I just sat there with my jaw open, in shock that there are so many different ways to manipulate the dough! The second is a woman demonstrating the various braiding methods for loaves: from 3 strands up to 9 strands.
AND here’s my bread:

See that ugly loaf? That’s what happens when you forget to grease your loaf pans! Here’s a close-up:
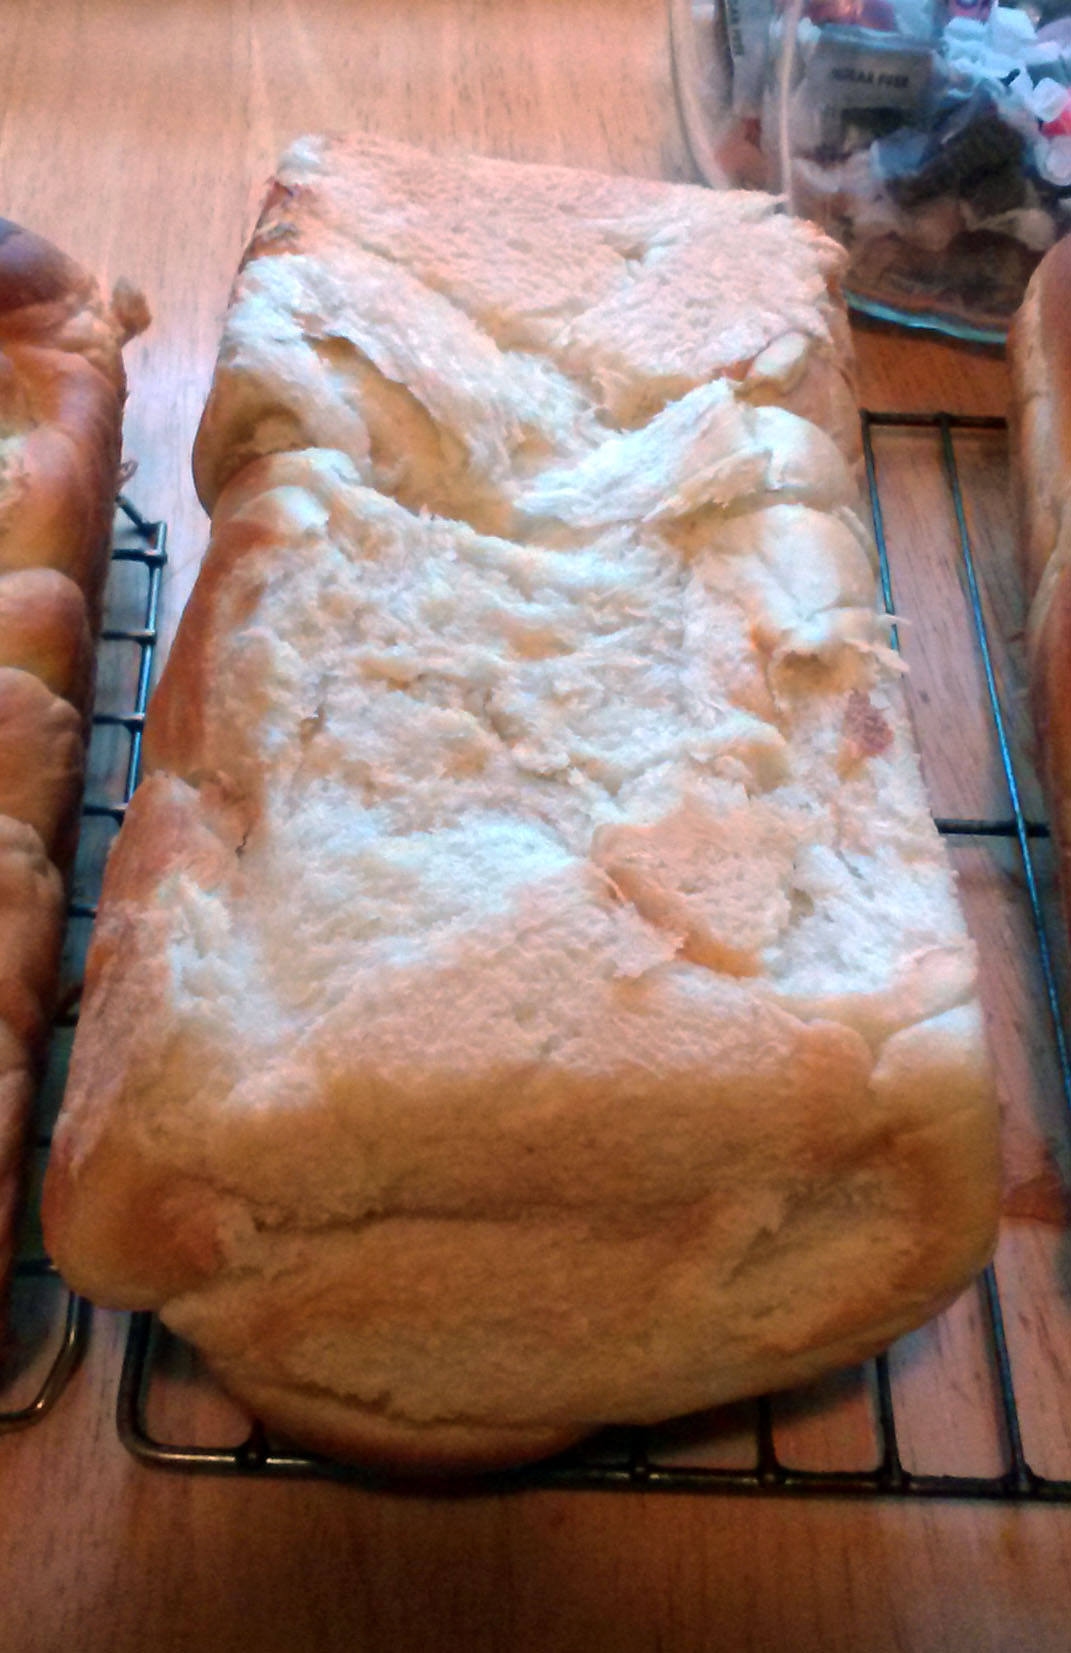
So, those took care of four of the dough chunks and this is what I did with the other two. I cut each of them into 6 sections and made sandwich rolls out of them. Now, these look beautiful but I cooked them way too long. That’s what happens when you turn the timer off (because they weren’t quite brown enough) and then proceed to talk to the neighbor about how her grandson is doing.

And here’s the recipe I used:

Challah (Braided Bread)
Video
Notes
Challah
- 3 Tablespoons Yeast
- 4 cups warm Water
- 1/2 cup Sugar
- 2 Tablespoons Salt (reduce if you use salted butter instead of oil, like I did)
- 1 cup Vegetable Oil (I don’t use vegetable oil nor canola oil. I used melted butter because my olive oil supply is currently limited and I forgot I had peanut oil)
- 4 large Eggs
- 12 cups Flour (approximate)
- 1 large Egg
- 1 Tablespoon Water
- 1/2 teaspoon Vanilla Extract or Vanilla Sugar (optional)
- 1/4 cup Sesame Seeds (optional)
4 responses to “Challah”
-
I really enjoyed the videos on braiding techniques. Thanks for sharing those. I always make my challah with butter and add some grated zest from an organic lemon. I haven’t ever added vanilla like Leah does in hers. I’ll have to try that. Your loaves look gorgeous. I bet even the one with the ripped bottom tasted delicious.
-
Actually, the one with the ripped bottom tasted the best (didn’t wait to eat that one)! Lemon zest sounds wonderful! I’ll try that next time.
-
-
Can I have some!!!
-
Sorry it took me so long to reply. Maybe next time (though it may be stale by the time it gets there). 🙂
-


Leave a Reply